Looking to change your connected PayPal account? See the end of this article.
Most businesses using ThriveCart to power their affiliate programs look to pay their affiliates (you) commission via the integrated PayPal option. You may wish to check this helpdesk article on how/when your commissions are paid.
Let’s take a look at connecting your Business PayPal account to your affiliate account.
First, you will need to log into you affiliate dashboard by heading over to thrivecart.com and clicking the sign-in link at the very top of the page.
You do not need to purchase or own a ThriveCart license in order to be an affiliate for a business using Thrivecart for their affiliate program.
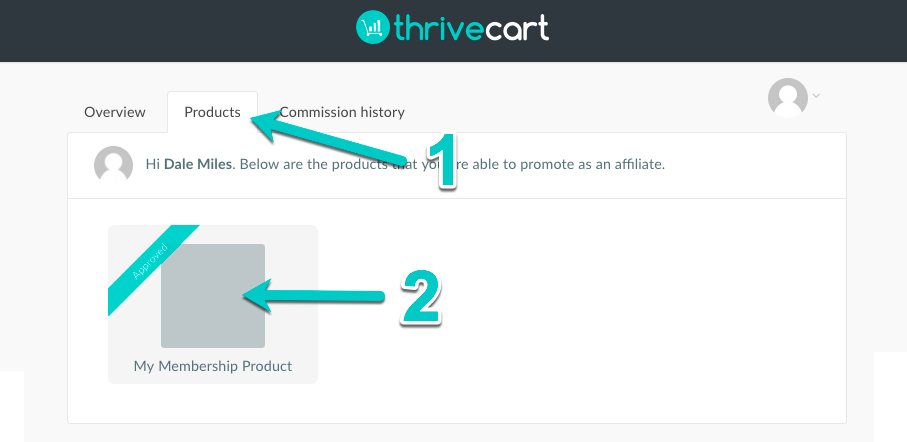
Once signed in you will be taken to their overview page. You then need to click on the products tab (1).
You then need to click a product in their account you have signed up to promote (2).
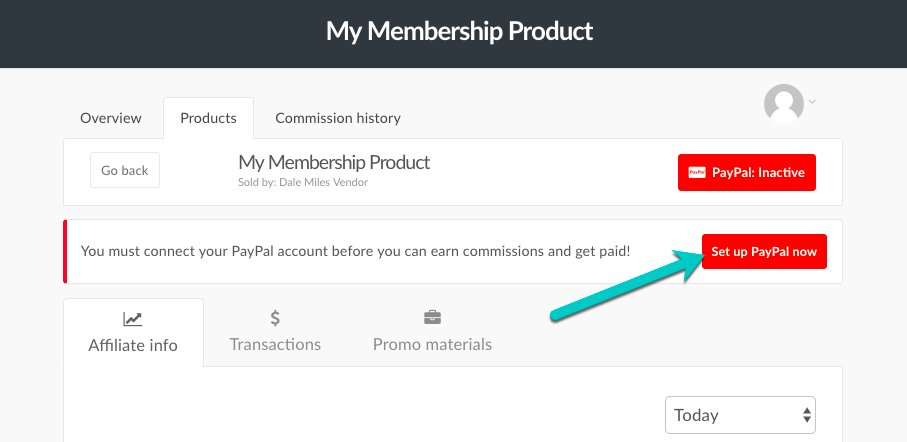
If you have not yet connected your PayPal account, and the vendor’s product settings require you to do so before you can promote, you will need to click the red button Set up PayPal now. This will take you to the page where you can connect your Business PayPal account to your affiliate account.

It’s also worth noting that if you are required to connect your PayPal account before you can promote, you will not have access to your affiliate link.
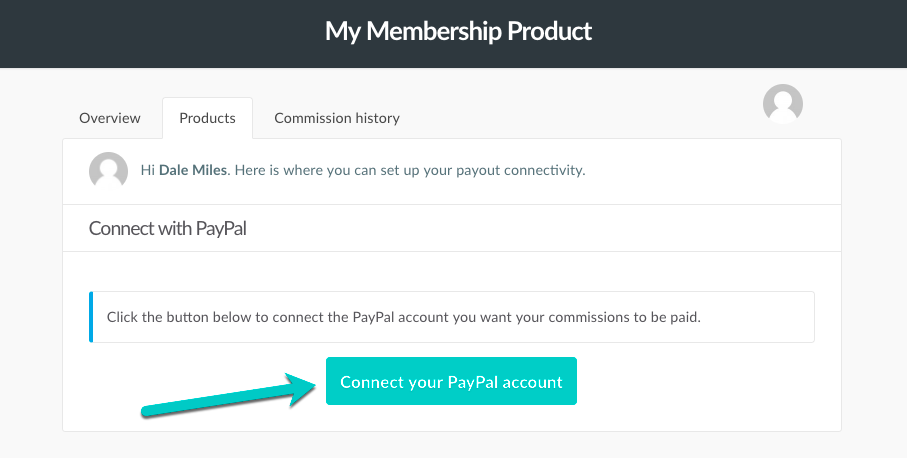
From this screen, you can click the button to be taken to PayPal to go through the integration.
A Business PayPal account is required to ensure the advanced features of ThriveCart’s affiliate platform work as intended. If an affiliate tries to connect a personal PayPal account they will be advised to upgrade or connect a business account. Affiliates cannot connect a personal PayPal account.
A walkthrough of the PayPal integration steps
When clicking the Connect your PayPal account button, you’ll be redirected to PayPal and shown the following steps.
Step 1. Enter your PayPal Business account email, select your country, and click Next.
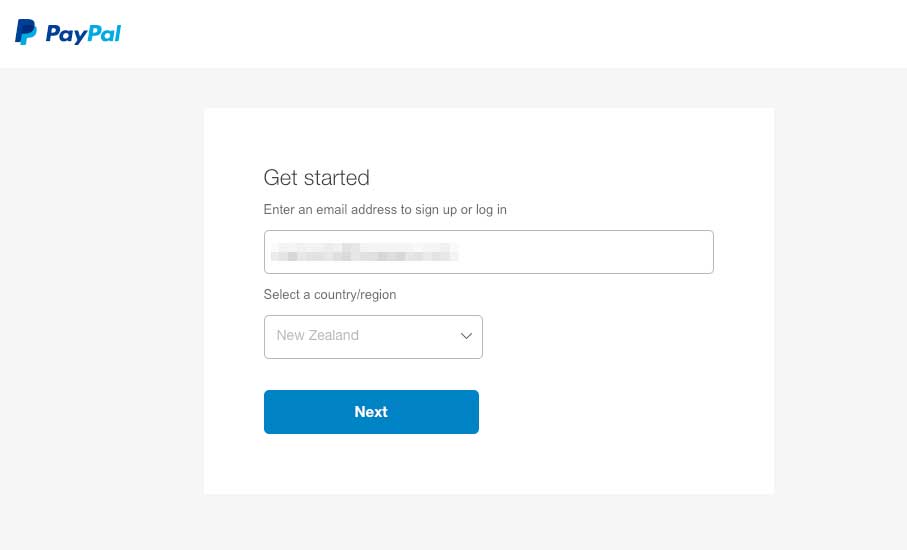
Step 2. PayPal will then redirect you to their login page, you’ll need to log into your Business PayPal account that you entered on the screen before.
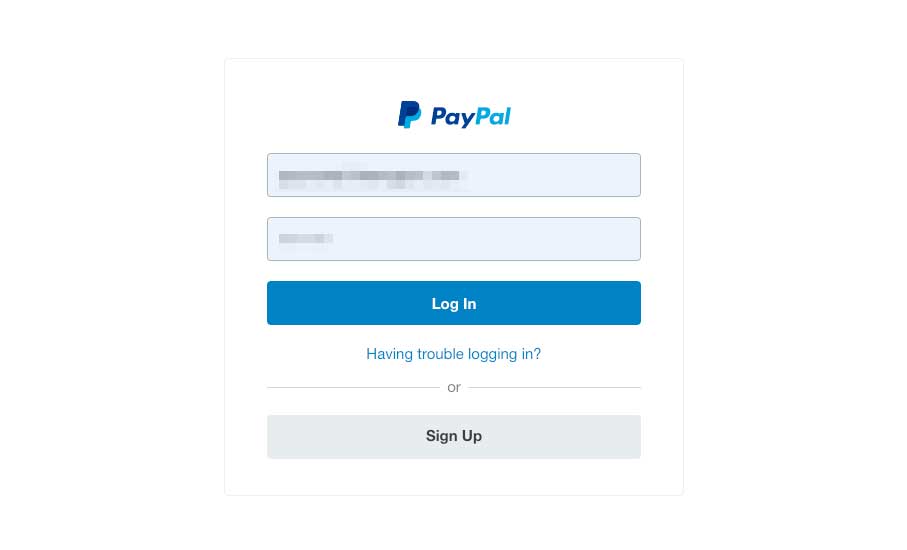
Step 3. Next step is to agree to the PayPal permissions.
These permissions allow the system to have vendors pay your commissions manually and automatically through PayPal and return commissions should your referred customer refund their purchase.
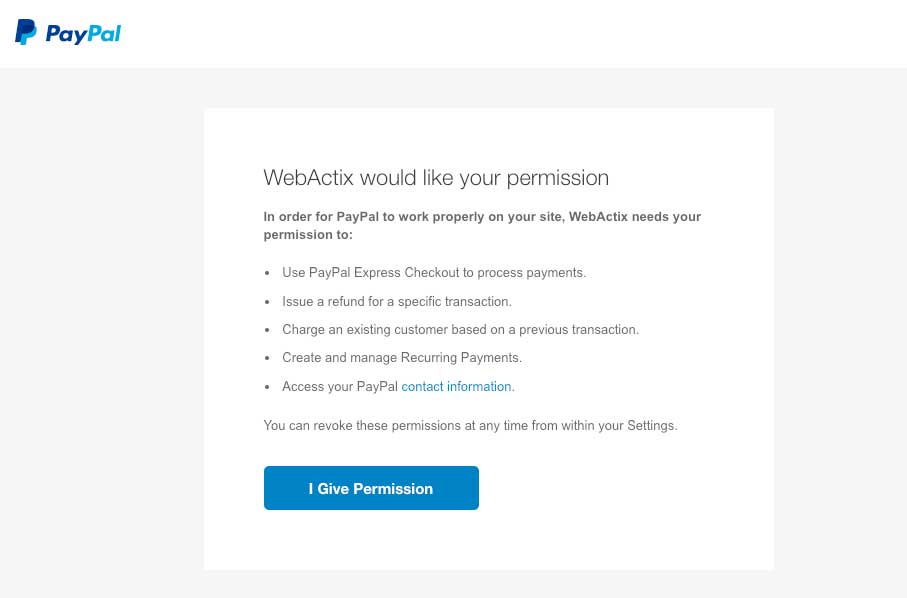
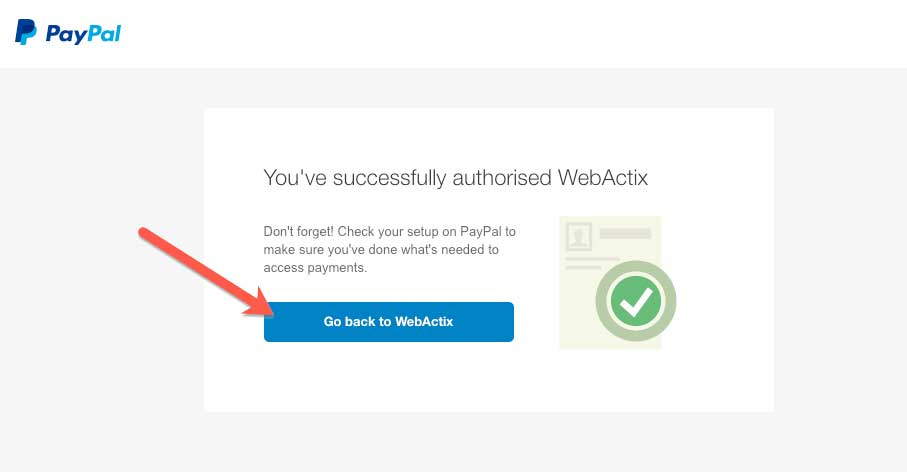
Step 4. Once you’ve agreed to the permissions you’ll then see this screen where you can click the button “Go back to WebActix” (This will return you to your ThriveCart affiliate dashboard).
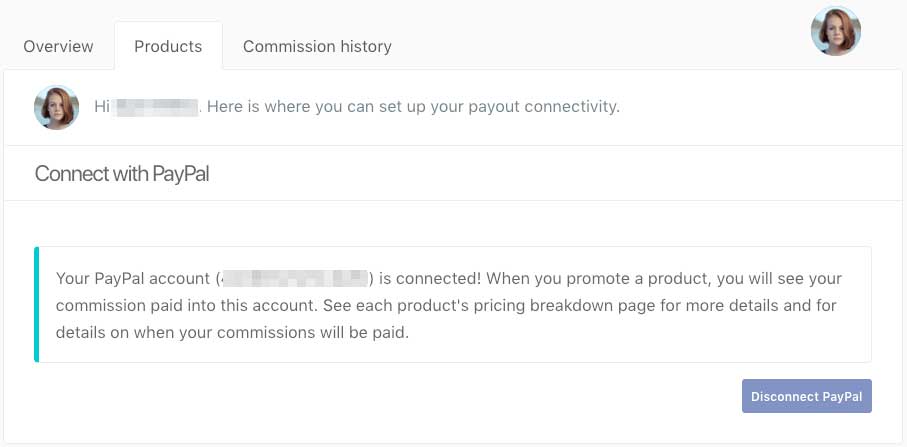
Step 6. You’re all complete and you should see something like the screen below. This confirms your Business PayPal account is correctly integrated with ThriveCart, ready to be paid commissions from the vendors of products you’re promoting (If they’re paying you via PayPal through the system, see this article on learning how and when you can expect payment from vendors).
Changing the connected PayPal account
If you’re needing to change the PayPal account commission payouts are made to, then you can easily do this from your dashboard.
Like at the start of this article, where there is a red PayPal: Inactive button, when you have PayPal connected, this will show a green PayPal: Active button.

Clicking that will take you through to the page noted above in Step 6 where the PayPal account merchant ID is shown. You can then click the ‘Disconnect PayPal’ button, go back to a product’s affiliate link page and follow the steps from the start to connect a new PayPal account.

 All Rights Reserved